In order to use your miniconda environment inside of the JupyterLab interactive app on Lemhi, you will need to create a kernel. For this example, we will create a Python kernel.
The first step is to either create a new miniconda environment or use an existing environment

Now, activate your conda environment
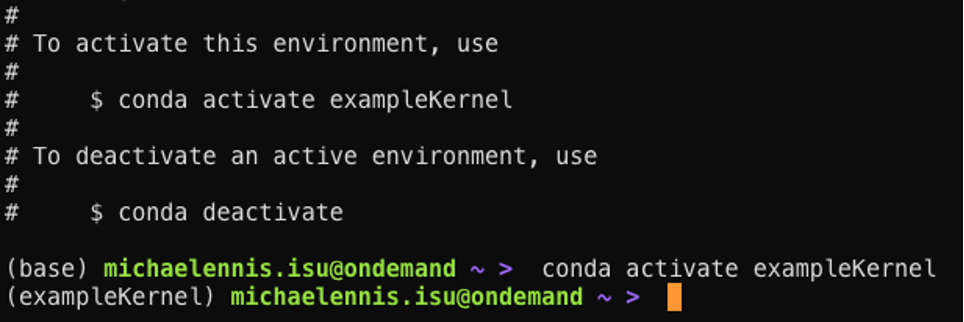
Now, set up your environment with whatever packages you would like to use in JupyterLab. For this example, I will use numpy.

Once you have installed all of your desired packages, the final package you will need to install is ipykernel:

The last step to run in your Lemhi terminal is to create the Python kernel.

Now, you have a new Python kernel that can be used in your JupyterLab interactive app.
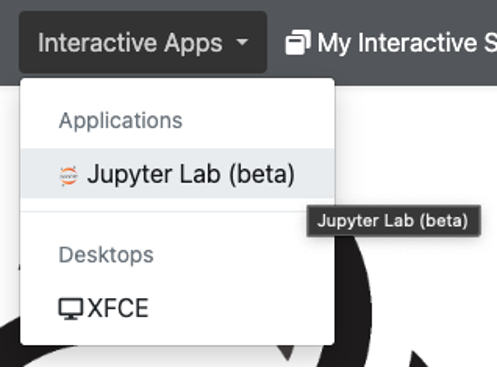
From the Interactive Apps dropdown on Ondemand, select Jupyter Lab
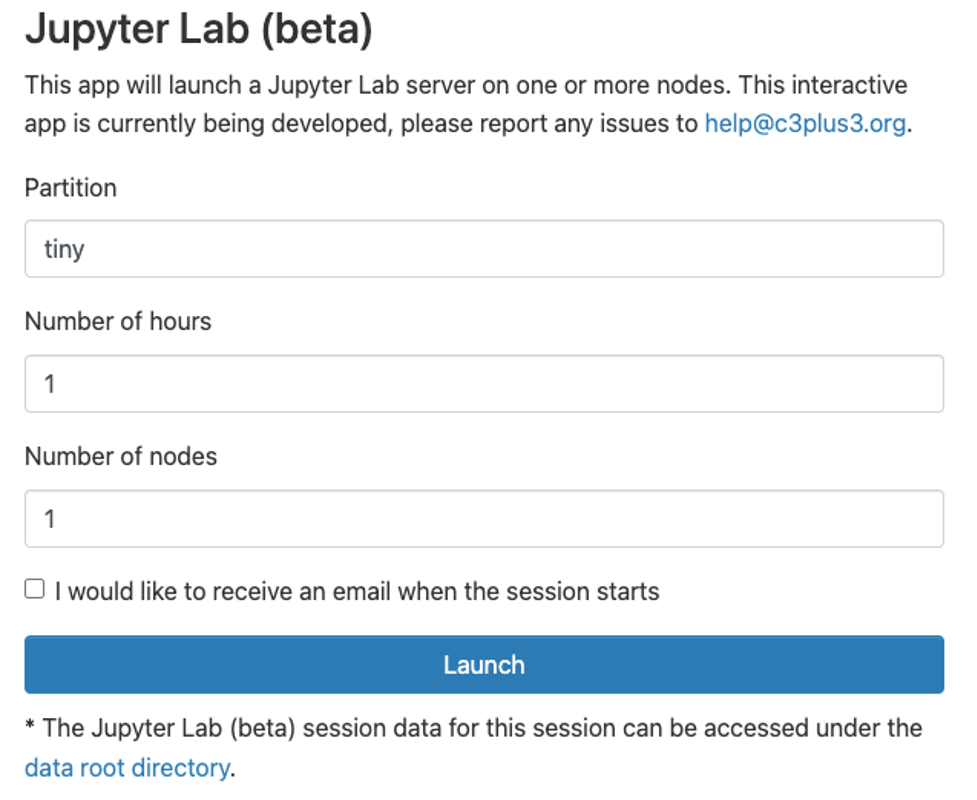
Complete the JupyterLab form by entering your partition (you can view the available partitions here), number of hours, and number of nodes. Finally, click "Launch" to launch your session.
After the application launches, you will be redirected to your interactive app page. Click "Connect to Jupyter", which will launch the app in a new tab in your browser.
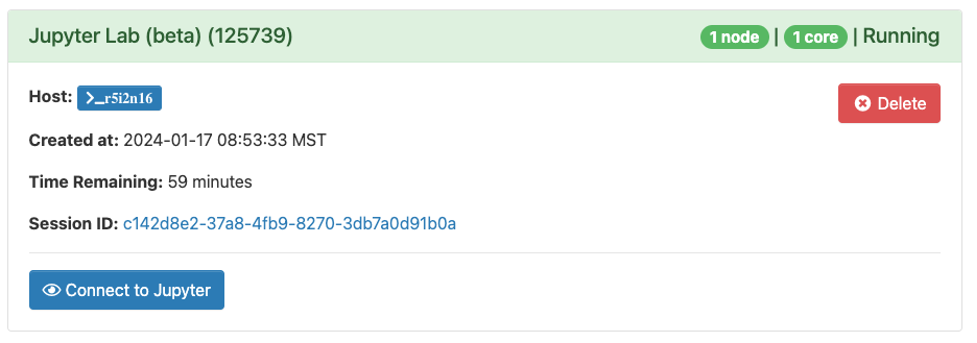
Now, you can use the JupyterLab application in your browser on OnDemand.
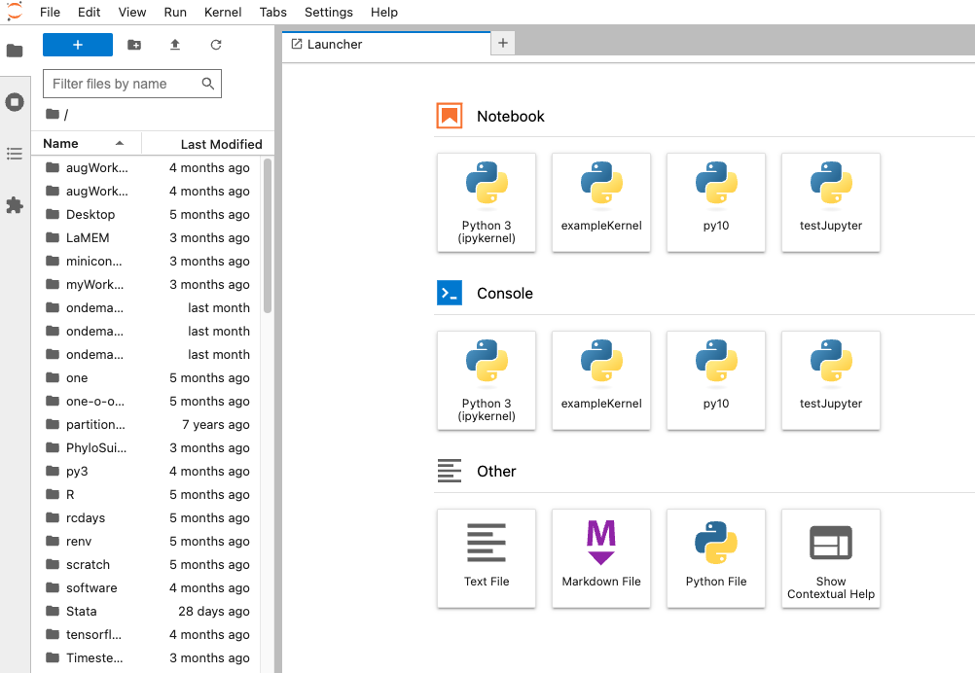
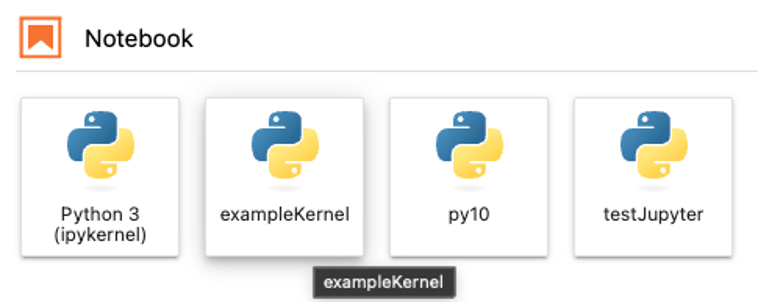
From the home page, you can open a new Jupyter notebook with the kernel you created
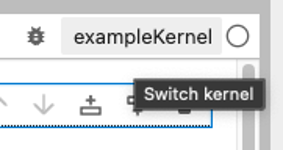
You can also switch your kernel at any time in the top right

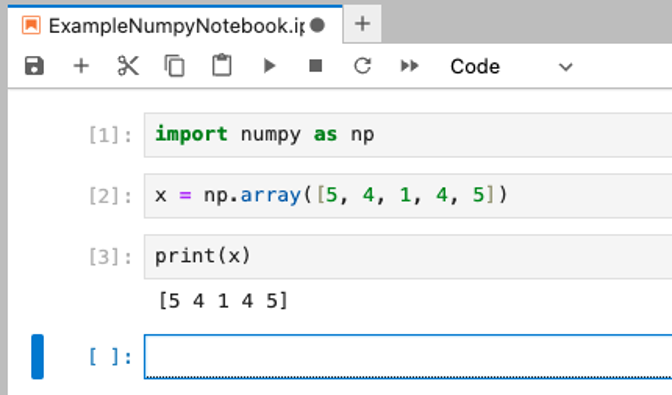
Using the kernel we created, we can use the installed numpy package
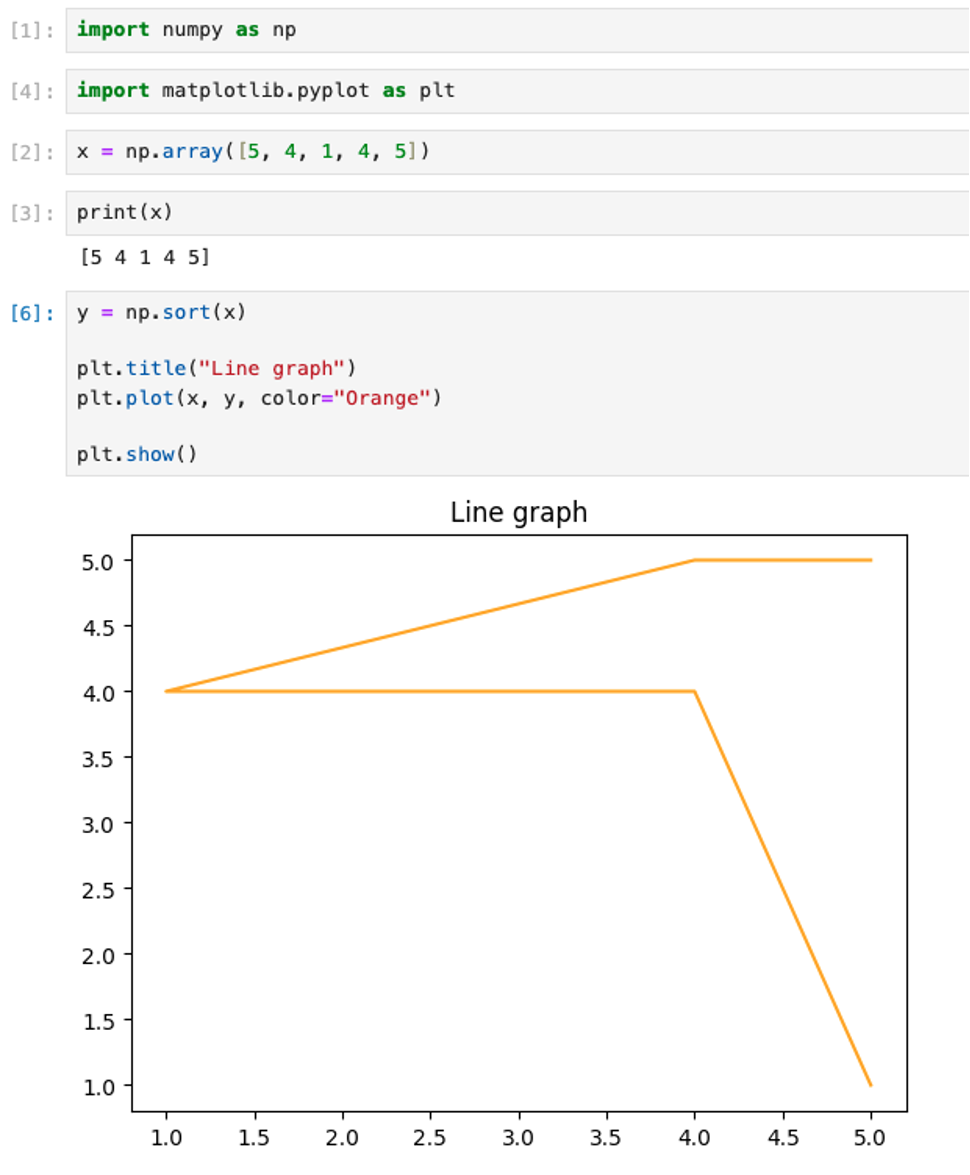
You can also add additional packages to your environment at any time. For this example, I'll add matplotlib so I can plot my array.

With our newly installed package, we can return to our JupyterLab session and add it to our notebook.
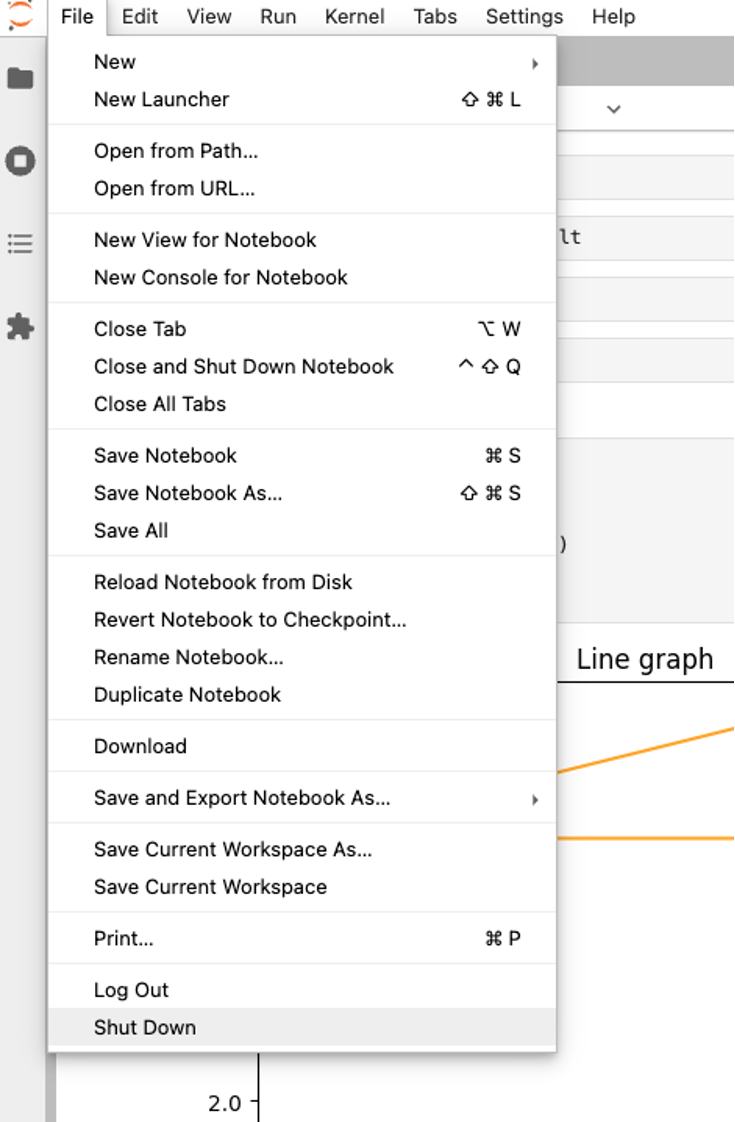
When you are finished with your JupyterLab session, select File->Shut Down from the menu at the top.
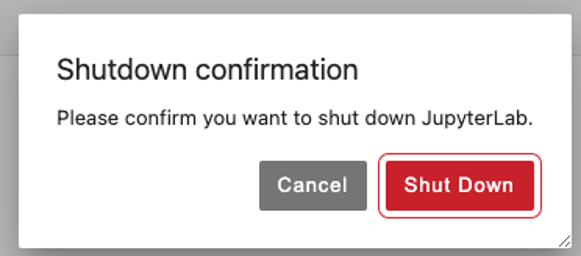
The tab with your JupyterLab instance will now close and your session will complete.
